 |
| Half filled first bed |
Last Veggie Patch post on 3rd Feb I waffled on about inspiration, planning and finally getting off my butt and doing something. With help from the guys at work, we built (not bought) 8 beds of varying sizes.
1 x 125cm wide x 125 depth x 90cm high - cream
2 x 200 x 75 x 90 - cream
1 x 125 x 125 x 45 - red
1 x 200 x 200 x 45 - charcoal
1 x 150 x 75 x 90 - green
2 x 240 x 45 x 45 - blue on the wall
These are not the real names of the colours - some person at colorbond dreamt up more imaginative names like paperbark, Tuscan red etc. but I'm a no frills girl so its red, blue, green...
For those of you too lazy to go back and look, here they are again.

 They don't look so big here do they - well let me tell you it takes an awful lot of soil to fill them. And every single cm of it had to be brought from the front driveway around to the back by barrow because our only access is through a doorway in the garage or the side gate which are both just wide enough for the barrow to get through if you line it up straight and grit your teeth. This was not easy to do when you are lifting something heavy and the path is curved or you a negotiating around a garage so full that it only has a wobbly path through it. It was around Early Sept 2012 when all this activity was going on. I was in a mad rush to get it done for the spring season and so pushed myself to the point of exhaustion with sore feet and a bad back.
Can you see that green green grass, beautiful isn't it. Its bloody Kikuyu and trying to dig it out was going to be impossible and so at the bottom of each bed is a thick layer of newspaper and cardboard watered in to form a papermache bottom as i was advised to do. I'd like to say it was successful but as others warned me at my permaculture coarse, there really is no way of stopping this stuff. Six months later i see the odd blade poking through the soil and i quickly shoot it with round-up hoping it will tell its friends to stay away.
As you can see in the first photo i packed bales of straw tightly into the bottom of the beds to raise the level so i wouldn't need so much soil. Even so it took 3 cubic metres of veggie mix soil to fill the first two cream ones at the front alone. I quickly learnt that when you have to shovel it into a barrow, walk carrying a heavy load and then get to the other end across footpaths, around object, under clothes lines, over decks and then shovel it out at the other end that it i wasn't going to get it done before Christmas and that physically i wasnt going to last either. They are very high, so i couldn't just tip it in. So i negotiated with the soil company to get the soil in bags for the same price from then on, picking it up myself in the work ute, saving the delivery fee and at the other end just barrowed them round back and tipped them in. I did this for all the other beds. I wasn't so impressed with the commercial veggie mix and so for every 4 bags, i added a bag on manure, a barrow of my clay and some straw. I then used my arms like a washing machine to mix it altogether to create what i am sure in time will break down into lovely rich soil. Gosh, did i smell good at the end of the day, NOT! At the time both Hubby and I were both working and since he often needs online retail therapy for his electronic gadgets we agreed we would each get $50 a week pocket money. I dont like shopping and so mine just grew and grew. This is how i paid for all the materials and soil. This was important to me that i didnt take from the family budget to create MY dream.
Looks good doesn't it. I think it was at this time that my two men could see that i wasn't a raving idiot and that what i had been talking about for six months (while i was planning LOL) was actually going to happen and that just maybe i might be able to pull it off. They were both impressed that it looked good. I later had to scratch away all this pea straw because it wasn't warm enough and the soil was too cold under it. It went back again in about mid December.
 |
| My first bed at the end of the day topped in pea straw |
Critters
I bet you a wondering about the chook. This is Henrietta and it was given to me by my Bestie to pacify me until i had my own chooks. Her feet are pegged into the soil so she cant fly away (HA HA). All my beds have a feature animal. That's how i identify them. Not that anyone else is doing any gardening but when i talk about them its "The Chook Bed" or the "Ant Bed". So here they are:
 |
| Windmill Bed - yes it turns, so fast the blade flies off! |
 |
| Henrietta with the iceberg lettuces |
 |
| Cos Lettuce and the Ants - you can see little ones at the far end. |
 |
| There a Pig in with the tomatoes and spinach |
 |
| A little Lady Bug overseeing the beetroot |
 |
| A bike in with the radishes - it has basil growing in the basket. |
Oh, also for hot hot day i made some shade sails. As you can see the beds are out in the open facing north with no shade. So i sewed some 50% shade cloth into curtains that slide onto the poles and if I'm expecting a day of 35 degrees, they go up. Some of them are pegged to the wire to shade the bed behind.
My aspie son was rather dead against the garden and didn't hold back in saying so. Neither of them like change but guess what. He now has a chair out there and he escapes around the back of the house to make his big boy phone calls in private - among the veggies. |
| My shade sails for hot days |
So, until i start the chicken coop, i think I'm done for big jobs and i can just enjoy growing things. I'm in the planning stage of the coop so stay tuned later this year or next - i do take a while. Hubby and son are a bit unsure about it so i have to go slowly. I can see them both cuddling chooks and sitting on the bench I'm planning having long conversations with them. I will be standing near by with the biggest smile on my face.


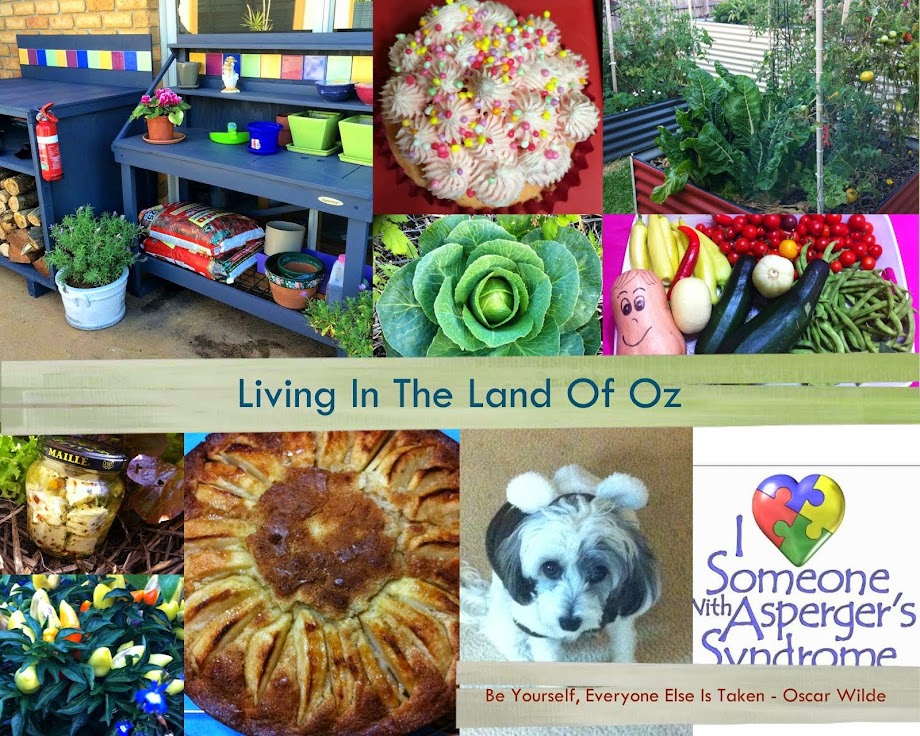
Thanks for visiting Living in the Land of Oz
Gorgeous - I love the pictures - so crisp and pretty. I love the set up too. It seems that the boys are coming around a bit.
ReplyDelete